

Can I Use Webflow.com To Build An App
Turn any Webflow site into Web App easily
![]()
In this super exciting article, we will try together to make your websites installable.
Webflow is the future of the future! What a paradox! You can design simple websites and even if you're already a developer, you can create complex websites too, to steal all attentions.
Even if Webflow lets you develop websites easily, this app is not helpful in case you want to make PWAs (Progressive Web Apps). So, you have two options:
1- Wait for them to release this feature
2- Do something to change the world!
In case you're one of those world changers, I will help you to create PWAs. Otherwise, please close this tab and watch Netflix and enjoy your popcorn!
If you learn the basics for the first time, it only takes 10 mins (or less) to make a website installable. Think about the amount of money you can charge your clients!
HINT: This article would be useful not only if you use Webflow but Wix (Editor X) and even Squarespace websites would be installable using this article. Until you have an index.html file which you can inject some codes inside, it doesn't matter what app you use.
Before we start, I want to explain the things we need to make our websites installable and PWA term.
A: PWA
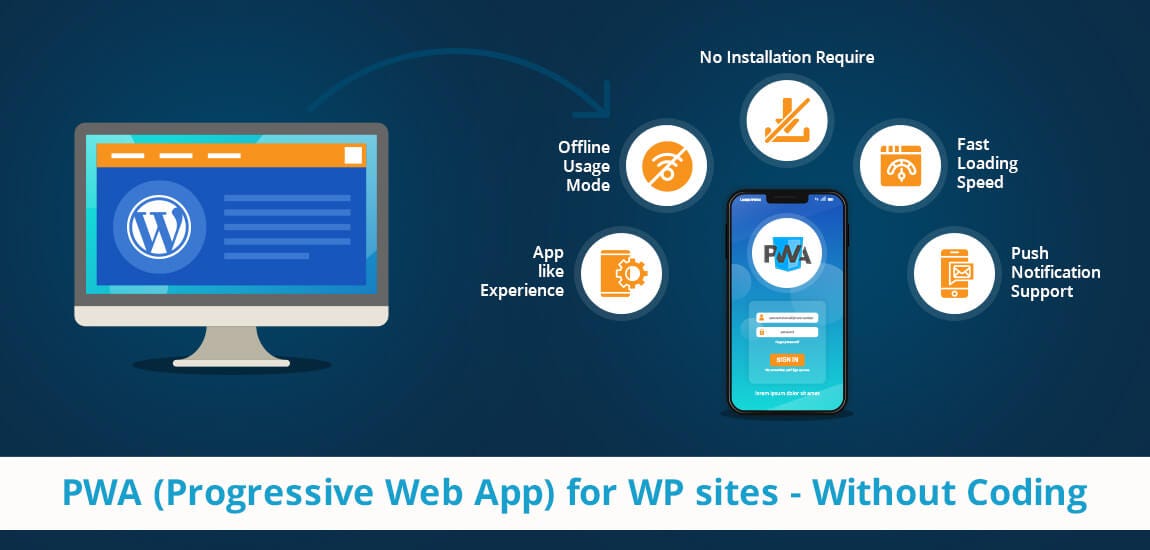
PWA stands for Progressive Web Apps. PWA is a web app which you can install on your phone and use them as a normal app. Also, You can make them installable for desktop users.
PWAs work offline and give you this ability to use the same technology for different platforms. Also, It increases your Google scores!
B: Manifest.json
The web app manifest provides information about a web application in a JSON text file, necessary for the web app to be downloaded and be presented to the user similarly to a native app (e.g., be installed on the home screen of a device, providing users with quicker access and a richer experience). PWA manifests include its name, author, icon(s), version, description, and list of all the necessary resources (among other things). — Mozilla
C: Service Worker
Service worker is a JavaScript file that is completely asynchronous and runs on a separate thread, that takes care of intercepting network requests, caching or retrieving resources from the cache, and delivering push messages.
- without a service worker, you won't be able to show "Add to Home screen" or "Install This app" notifications.
I don't want to waste your time more. Let's get started:
How To convert our Webflow sites into PWAs and make them installable?
I will divide this article into three sections:
1- Make the site ready for export
2- Make the Manifest.json ready
3- Add a service worker
Part 1: Export the Website Code

- If you are hosting your website on Webflow, you must close this tab! Currently, Webflow doesn't support PWAs and also, you can not host the required files if you use their hosting plans.
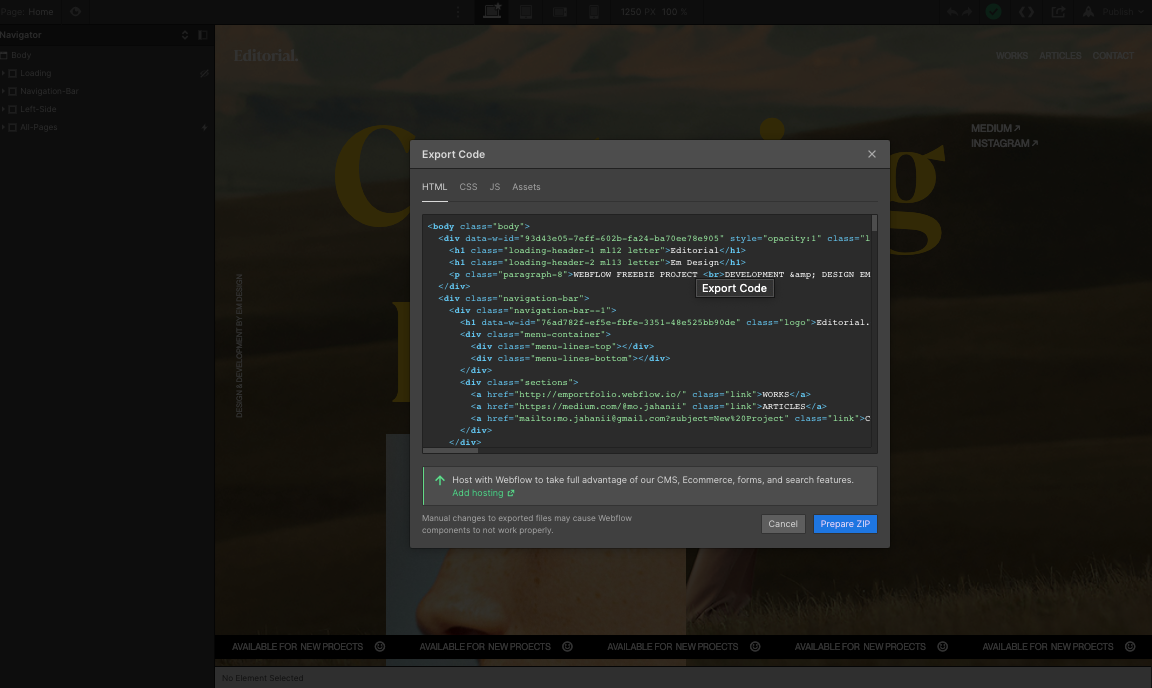
1- Apply the changes you have in mind and final touches and then, click on the export button. In case you use a free plan, you won't be able to export your websites and PWAs won't work for you! You don't need to upgrade your plan to Professional (In case it's expensive for you). Even if you are on the Lite package you can export your websites easily.

2- Download your website as a zip file and unzip it.
Part 2: Make the manifest.json ready!
To make this json file ready, we have plenty of options. You can find a template on Github or simply use this link:
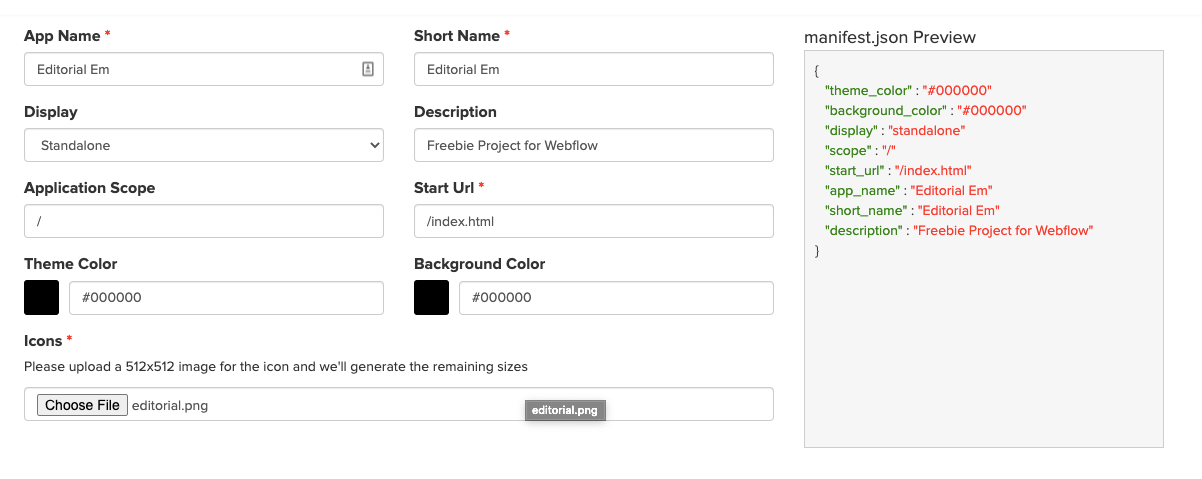
The manifest.json file has different sections which you need to fill:
A.1- App Name: it's the name of your progressive web application.
A.2- Short Name: In case you have used a long name for your app, the short name would be used.
A.3 - Theme Color: Defines the color of the app border (On Desktop and Navigation bar on Mobile).
A.4 - Background Color
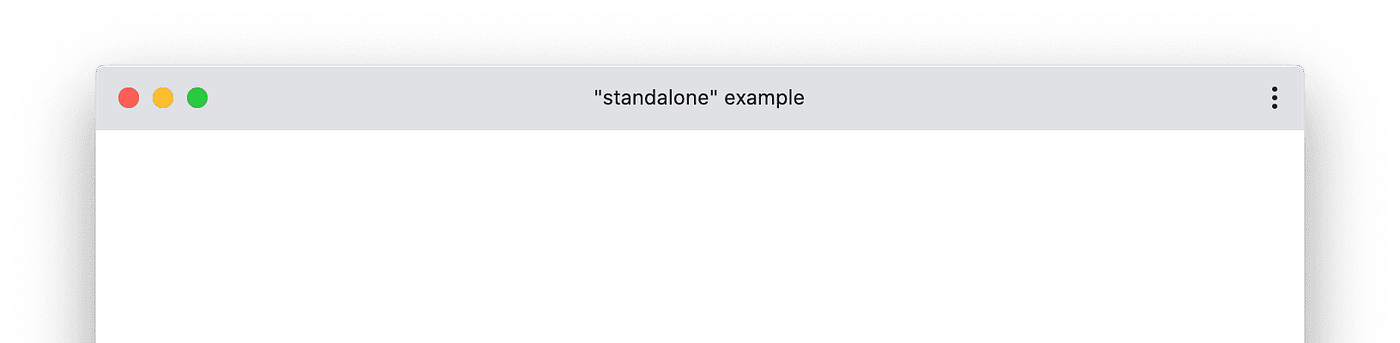
A.5 - Display Mode: If you choose
standalone: Opens the web app to look and feel like a standalone app. The app runs in its own window, separate from the browser, and hides standard browser UI elements like the URL bar.
minimal-ui: This mode is similar to standalone, but provides the user a minimal set of UI elements for controlling navigation (such as back and reload).

fullscreen: Opens the web application without any browser UI and takes up the entirety of the available display area.
browser: A standard browser experience.
A.6 - Orientation: If your website is fully optimized for landscape and portrait mode, Choose any.
A.7 - Application Scope: It restricts what web pages can be viewed while the manifest is applied. If the user navigates outside the scope, it reverts to a normal web page inside a browser tab or window. We will leave this empty.
A.8 - Start URL: When you export your Webflow code, the initial page would be "index.html". So, we use it too.
A.9 - App Icon: For the app icon, the service I suggest asks you to upload a 512*512 px png file. I will use a png file which is called: "editorial.png". The name is important to us!
- For Mobile and Desktop App, the manifest.json will use the name, logo and the background colour to generate a splash screen. So, make sure the background colour is close to your website loading page background or overall color of your website.
- We have another field which is called:
related_applications.In case your web app has a native app, you must use this field. - learn more about all fields you can add to the manifest.json file.
Let's see what we have:
            {
              "theme_color": "#000000",
              "background_color": "#000000",
              "display": "standalone",
              "scope": "/",
              "start_url": "/index.html",
              "app_name": "Editorial Em",
              "short_name": "Editorial Em",
              "description": "Freebie Project for Webflow",
              "icons": [
              {
              "src": "/icon-192x192.png",
              "sizes": "192x192",
              "type": "image/png"
              },
              {
              "src": "/icon-256x256.png",
              "sizes": "256x256",
              "type": "image/png"
              },
              {
              "src": "/icon-384x384.png",
              "sizes": "384x384",
              "type": "image/png"
              },
              {
              "src": "/icon-512x512.png",
              "sizes": "512x512",
              "type": "image/png"
              }
              ]
}
B:
If you have used the link and downloaded the manifest.json, unzip the file. Inside its folder, you will see some icons and a manifest.json file. If you don't want to touch the manifest.json file, you must put the icons inside the root folder but if you want to have a clean website, you must edit the JSON file.
Open the manifest.json file and see the changes I've applied to it below:
            {
              "theme_color": "#000000",
              "background_color": "#000000",
              "display": "standalone",
              "scope": "/",
              "start_url": "/index.html",
              "app_name": "Editorial Em",
              "short_name": "Editorial Em",
              "description": "Freebie Project for Webflow",
              "icons": [
              {
              "src": "/icon-192x192.png",
                "sizes": "192x192",
                "type": "image/png"
              },
              {
              "src": "/icon-256x256.png",
                "sizes": "256x256",
                "type": "image/png"
              },
              {
              "src": "/icon-384x384.png",
                "sizes": "384x384",
                "type": "image/png"
              },
              {
              "src": "/icon-512x512.png",
                "sizes": "512x512",
                "type": "image/png"
              }
              ]
}
Before
            {
              "theme_color": "#000000",
              "background_color": "#000000",
              "display": "standalone",
              "scope": "/",
              "start_url": "/index.html",
              "app_name": "Editorial Em",
              "short_name": "Editorial Em",
              "description": "Freebie Project for Webflow",
              "icons": [
              {
              "src": "/images/icon-192x192.png",
                "sizes": "192x192",
                "type": "image/png"
              },
              {
              "src": "/images/icon-256x256.png",
                "sizes": "256x256",
                "type": "image/png"
              },
              {
              "src": "/images/icon-384x384.png",
                "sizes": "384x384",
                "type": "image/png"
              },
              {
                              "src": "/images/icon-512x512.png",
                "sizes": "512x512",
                "type": "image/png"
              }
              ]
}
After
I want to explain the "src" tag: it stands for Source
When the app icon "src" is = /images/icon-512x512.png. → Image Path: Root Folder (Where the Index.html is located) / Images / icon-512x512.png
When the app icon "src"= /icon-512x512.png. → Image Path: Root Folder (Where Index is located). The images are located where the Index.html file is located.
What I did a few minutes ago, changed the path of the images because I wanted to have a clean website structure and moved the app icons to the images folder.
Make sure the name of the icon is the same with the name you have used inside the manifest. Don't change their names.
C:
From inside the folder you have downloaded which contains the manifest.json and icons, put the manifest.json inside the Root of your website folder and move the app icons to the images folder as I do below:

D:
Now, we must inform our index.html to load the manifest.json file. To edit the Index.html, I suggest you Visual Code. Copy this line and paste it somewhere above the <link href="images/favicon.ico" rel="shortcut icon" type="image/x-icon"> line.
<link rel="manifest" href="manifest.json"> 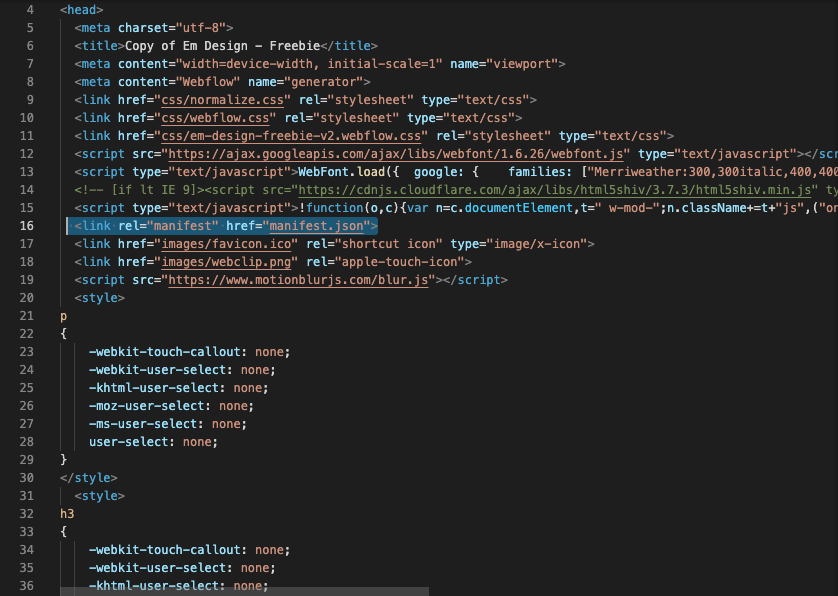
Now, the structure of the root folder must be like this:

We've nailed it. Let's push the boundaries of Webflow together and finish our job and earn money!
3- Add a Service Worker!
Without completing this part, you can't have an installable app. If you know how to test the manifest using Chrome Tools, this browser tells the app is not installable because lacking a Service Worker!
Warning! Leave the service-worker.js untouched! Inside this js file you will find the assets of your websites. So, that's the reason you can't use Webflow hosting if you want to have a PWA.
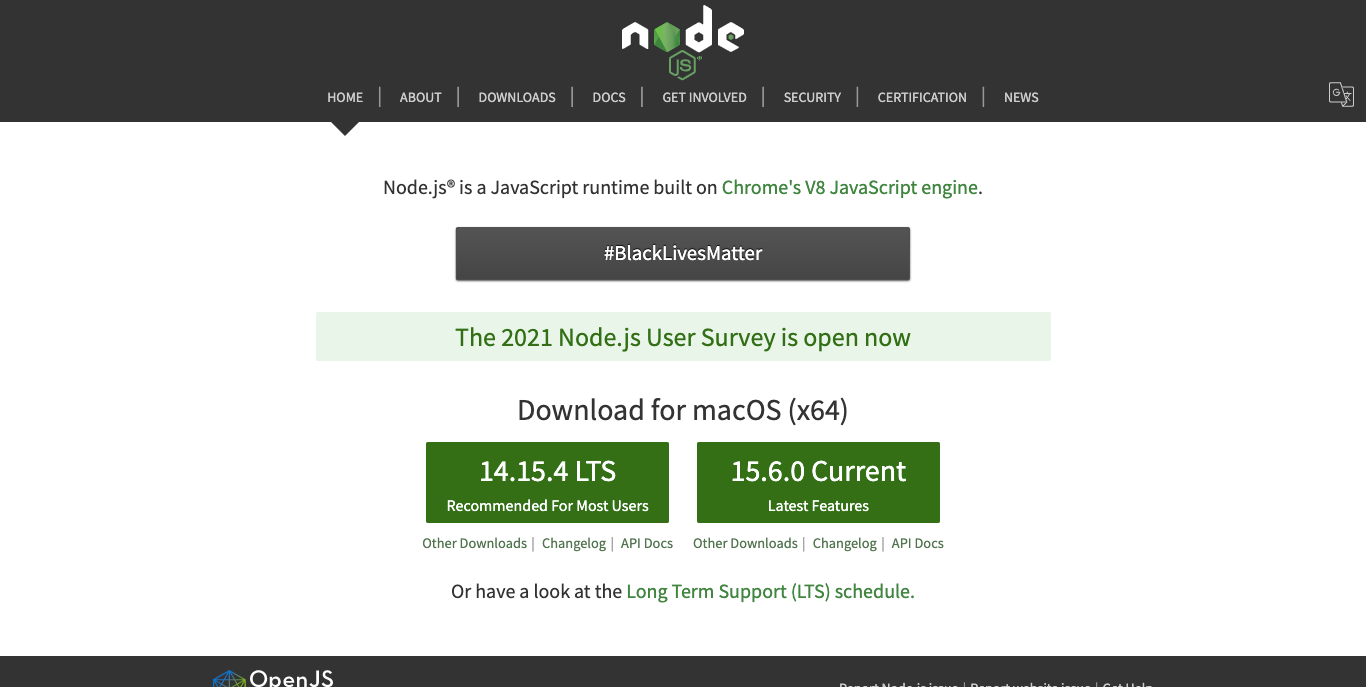
A: Go to this URL and install Node.js on your system: https://nodejs.org/en/
B: Open Terminal on your mac and run this command (Remove the $ if the command doesn't run):
$ npm install --global sw-precache C: If it fails, you must fix it using this command to get enough permission to install an NPM package.
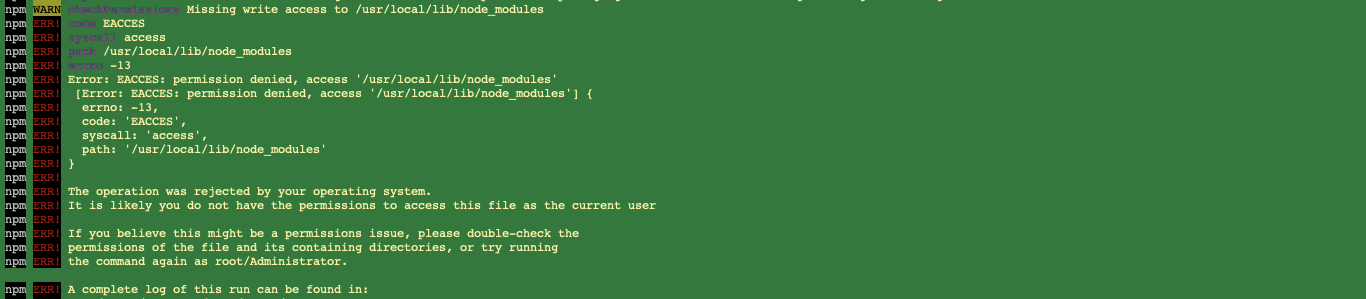
sudo chown -R $USER /usr/local/lib/node_modules D: Then, go to the root folder of your website and run the command (make sure you are in the same path as your project root directory):
- Define a shortcut from System Preferences -> Keyboard -> Shortcuts -> Services -> New Terminal At Folder to launch Terminal at your desired folder. Or go back to the Downloads folder and right-click on the website folder and choose "Services -> New Terminal At Folder".
$ sw-precache 
Z:
Open the "index.html" file again and add this code underneath the manifest.json reference line:
            <script>               if ("serviceWorker" in navigator) {
              // register service worker
              navigator.serviceWorker.register("service-worker.js");
} </script> 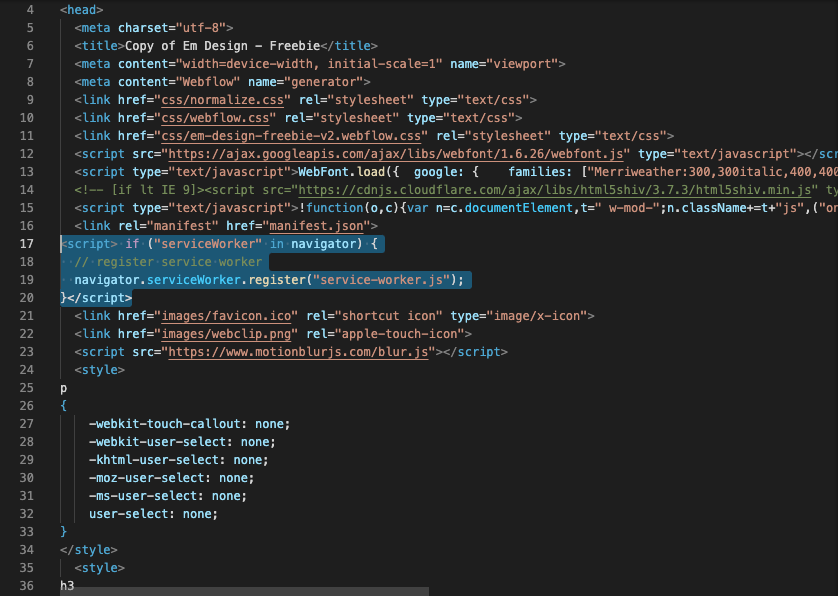
Now, the structure of the root folder looks like this:

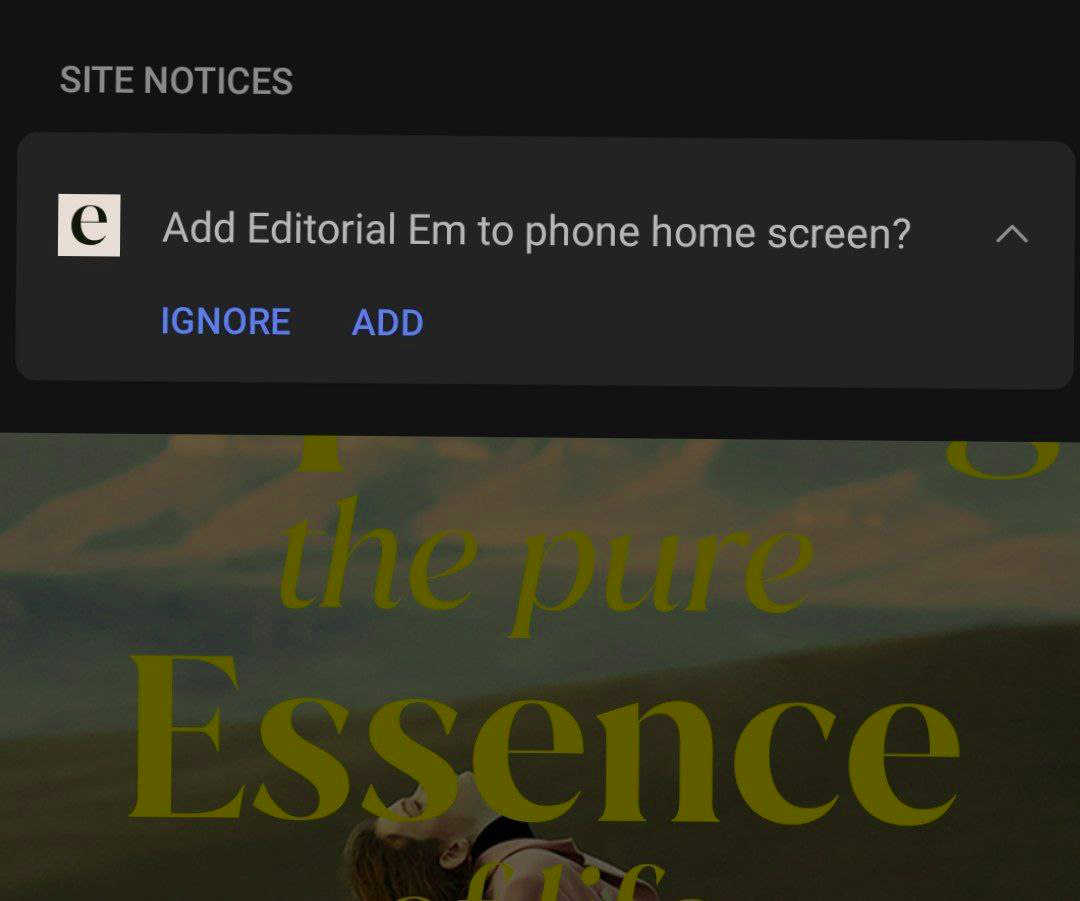
Save the index.html changes and zip your website. Host it somewhere (Netlify) and if you have followed all steps correctly, you must see a plus option on Desktop and a popup Modal on Mobile which asks you to "install the app".

Now, everything works but you have probably noticed the app isn't installable on Safari Devices. Right now Safari won't show you a notification even if your app is installable but you can add a "div" (Use "User-agents" to detect iOS phones) and tell people how to add a shortcut of your website to Home Screen.
On iOS, you must follow these steps:
1- Share Button
2- Find "Add to Home Screen"
3- Add a shortcut of your web app

- IMPORTANT! According to the Google guidelines, the A2HS will be shown only once. If you close the popup, you won't see it for 90 days, unless you clear your browser's cache. Also, If you install the app, the popup won't be shown but the app would be updated in case you have applied some changes to your web app. To solve it, it's better to add a button inside your website to fire the A2HS popup!
— —
If you find this article useful, you can buy me a coffee:
BUY ME A COFFEE
Also, for any inquires:
mo.jahanii@gmail.com
Can I Use Webflow.com To Build An App
Source: https://bootcamp.uxdesign.cc/turn-any-webflow-site-into-web-app-easily-7cfd5fb3afa3
Posted by: martindomay1994.blogspot.com
0 Response to "Can I Use Webflow.com To Build An App"
Post a Comment